
Animations can be created and edited using Curve Editor features.
The setting items (nodes) displayed vary depending on the type of animation.
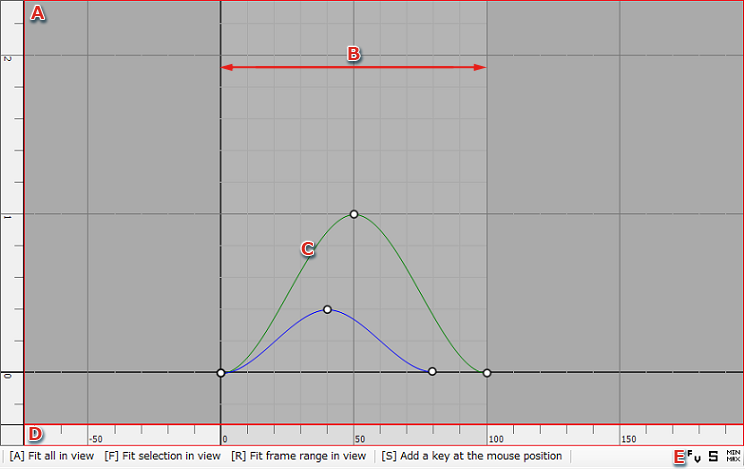
This is a list of Curve Editor operations.
| Operation | Feature |
|---|---|
| [S] | Add key |
| [Delete] [BackSpace] |
Delete key |
| CTRL+C | Copy key |
| CTRL+V | Paste key |
| CTRL+X | Cut key |
| [A] | Fit all to view |
| [F] | Fit selection to view |
| [R] | Fit frame range to view |
| [Ctrl] + [+] | Enlarge view |
| [Ctrl] + [-] | Reduce view |
| [N] | Select previous curve |
| [M] | Select next curve |
| [,] | Select previous key |
| [.] | Select next key |
| [↑] [↓] | Edit value of selected key |
| [←] [→] | Edit selected key frame |
| [ I ] | Set key mode to "Insert Keys." |
Displays a tree view of the curves included in animations.
You can select and edit curves.

| Icon | Description |
|---|---|
| This is a filter button. Only nodes that have curves are shown if selected. | |
| Resets the tree status. | |
| Expands the tree to show lower branches. | |
| Puts all nodes in show status. The show/hide checkboxes for nodes are all selected. |
|
| Puts all nodes in hide status. The show/hide checkboxes for nodes are all unselected. |
| Icon | Description |
|---|---|
| A curve that does not have configured keys. | |
 |
A curve that does not have configured keys and has not been selected. |
 |
A curve that has configured keys and has been selected. |
In Curve View, you can create and edit animation curves.
| Icon | View Display | Displayed Information |
|---|---|---|
 |
 |
Displays the number of frames and values for the selected key. |
 |
 |
Displays slope information for the selected key. |
 |
 |
Displays the maximum and minimum values for keys adjacent to the selected key. |
Mouse operations in Curve View are given below.
| Operation | Description |
|---|---|
| Left button click | Selects keys. |
| Left button range selection | Selects keys and curves inside the selected range. |
| Center button drag | Moves a key when the key mode is "move closest key" or "move multiple keys". Move closest key moves the closest key from the location where the center button is dragged. Move multiple keys moves keys that are in selected status. |
| Center button click | If the key mode is "insert keys," keys are inserted based on the value and slope evaluated for the curve in the frame where the center button was pressed. If the key mode is "add keys," keys are added in the location where the center button was pressed. |
| SHIFT + Center button drag | This operation is enabled when the key mode is "move closest key" or "move multiple keys". This limits the movement of keys to vertical or horizontal motion. |
| Alt + Center button drag | Slides the view. |
| Alt+Right or left button drag | Changes the view scale to uniform. |
| Alt+Shift+Right button Left/right drag start | Changes the scale of the view in the frame direction. |
| Alt+Shift+Right button Up/down drag start | Changes the scale of the view in the value direction. |
The curve view can be used to select (multiple) curves, keys, and slopes.
| State | View Display | Selection Method |
|---|---|---|
| Unselected |  |
Selects the area containing nothing in the curve display region. |
| Curve selected |  |
Select the corresponding items in the Curve Tree View or range select a curve using the left mouse button. |
| Key selected |  |
Left click the key you want to select included in the curve or range select using the left mouse button. When a key is selected, it is highlighted and the slope handle is displayed. |
| Slope selected |  |
Either left click the leading edge of the slope handle while a key is selected or range select using the left mouse button. |
This section describes the procedure for adding a key to any frame of an existing curve.
Curves and keys selected in the Curve View can be copied and pasted using Ctrl+C and Ctrl+V.
There are two types of copying.
It is possible to paste to the selected curve.
Operations during pasting are set using paste items on the Toolbar.

This section describes the position and method of selecting from the pull-down menu for pasting.
| Pull-down Menu Items | Description |
|---|---|
| Cursor Position | Pastes the key to the cursor position. |
| The copy destination | The frame (horizontal axis) is located at the cursor position. The value of the copy destination is used for value (vertical axis). |
| Copy | The value of the copy destination is used for both the frame (horizontal axis) and value (vertical axis). |
| Pull-down Menu Items | Description |
|---|---|
| Insert | Inserts and pasts the copied key. The frames of keys located after the paste position are increased by the number of curve frames that have been pasted. |
| Replace | Replaces and pastes the copied key. Keys that already exist are replaced by the pasted key (curve). |
| Merge | Merges and pastes the copied key. The copied key is pasted while leaving already existing keys in place. The result is a where the already existing key is merged with the pasted key. |
CONFIDENTIAL